
Lightrun Answers was designed to reduce the constant googling that comes with debugging 3rd party libraries. It collects links to all the places you might be looking at while hunting down a tough bug.
And, if you’re still stuck at the end, we’re happy to hop on a call to see how we can help out.
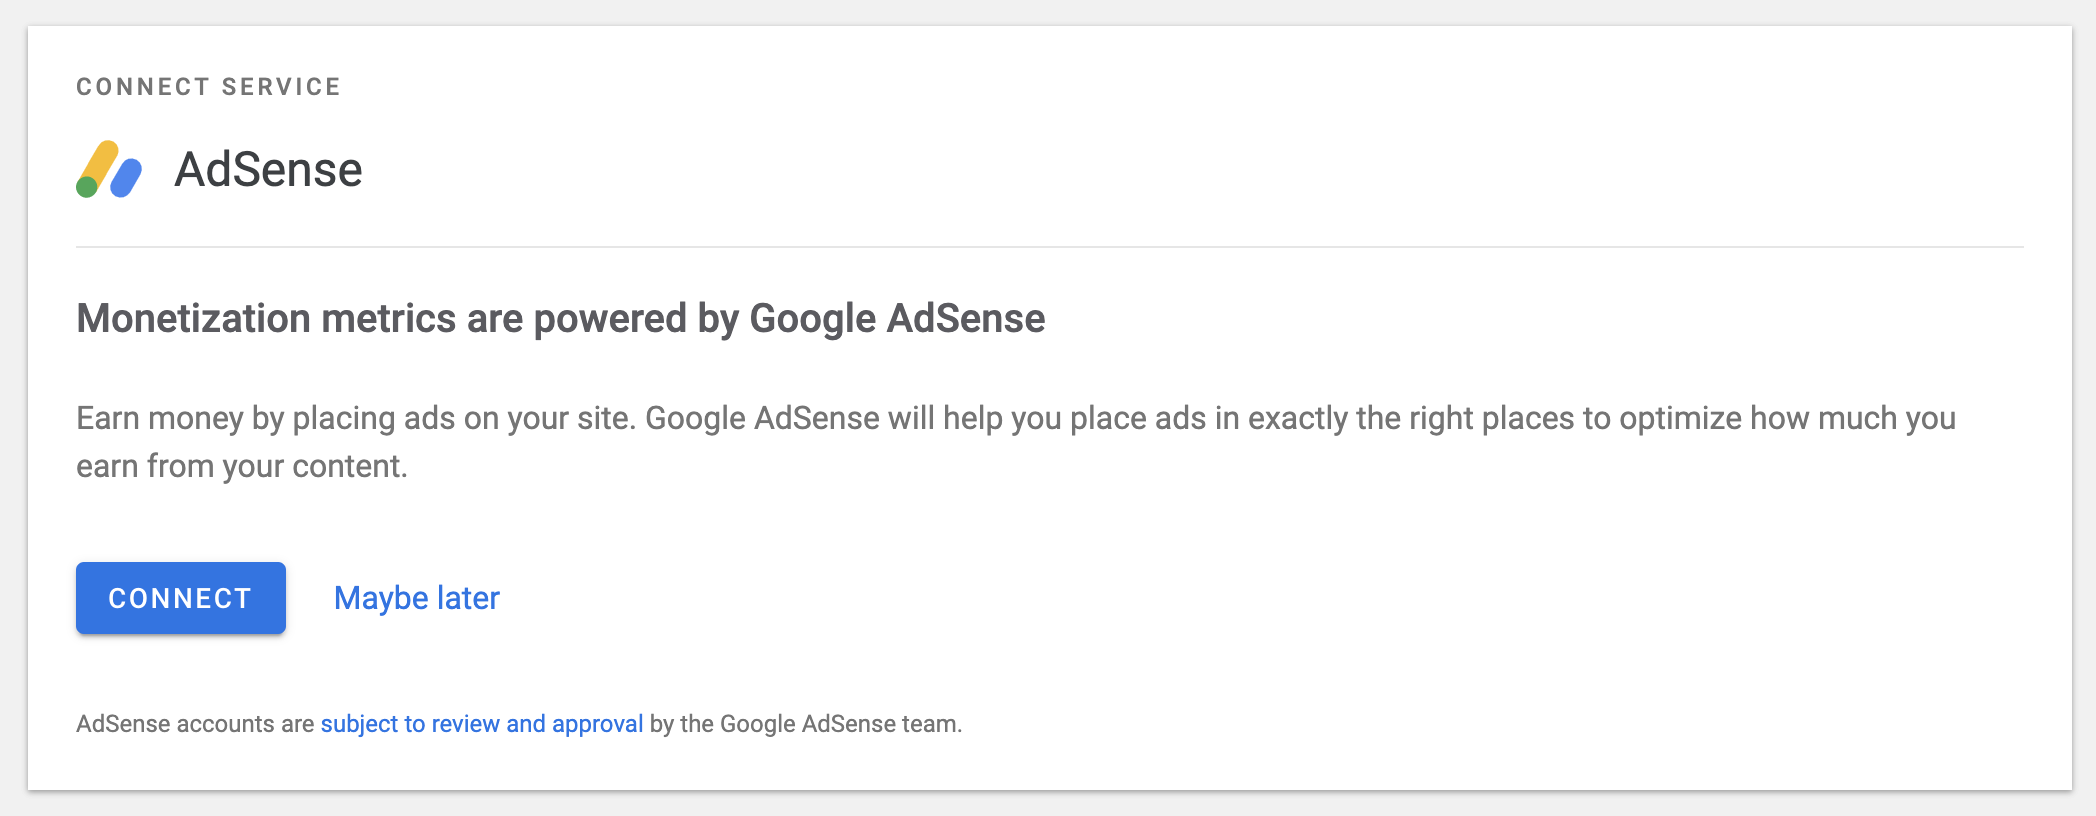
Upgrade AdSense Connect CTA to new design
See original GitHub issueFeature Description
When AdSense is not connected, a CTA is shown in the Monetization of the dashboard to connect it.
This issue is about updating it with a new design which also brings a bit more interactivity into the dashboard compared to its current static implementation.
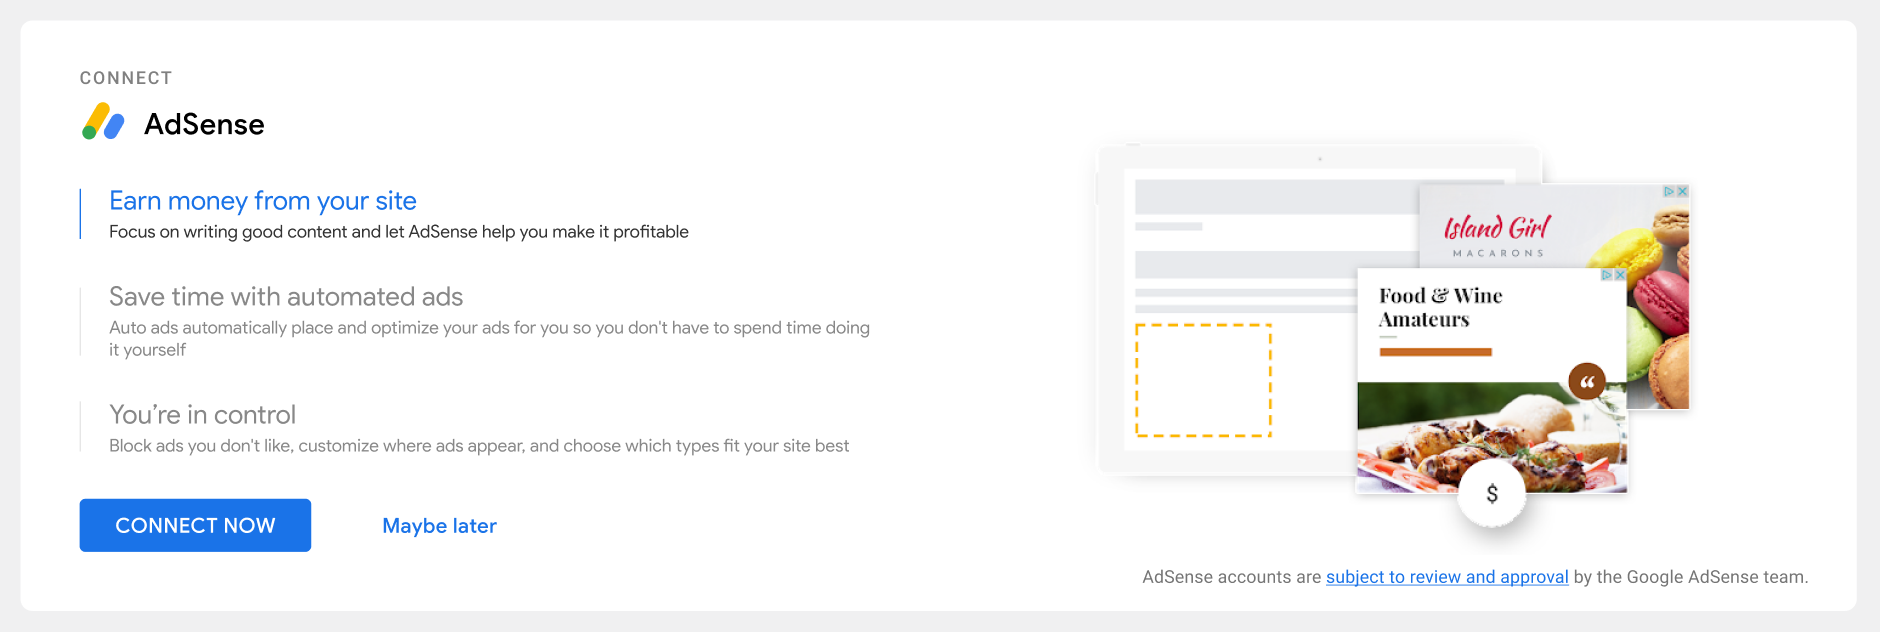
| Today | New |
|---|---|
 |
 |
Do not alter or remove anything below. The following sections will be managed by moderators only.
Acceptance criteria
- The
AdSenseConnectCTAcomponent should be updated to implement the new design (Figma)- Design prototype
- The 3 rows of text (heading + subtext) each have their own related graphic (TBD)
- Upon display, the active row and graphic should transition automatically, with each one remaining active for ~5 seconds and transition in/out for 2.5 seconds each
- Note the difference in styling between active and inactive items and the transition between
- Note the animation of the accent bar to the left of the text for each slide
- On mobile:
- The layout should adapt to stack the graphics on top of the text
- The slides should not transition automatically, but manually on user-swipe (left/right)
- The
Connect Nowprimary button should work the same as today’sConnect - The
Complete setupbutton (when AdSense is active but not fully connected yet) can remain as today (not shown in design) - The
Maybe latersecondary action should be updated to dismiss the CTA immediately (no extra confirmation step) and trigger an on-demand tooltip (seeTourTooltips) which points to the Site KitSettingslink in the admin bar – see the design for- In mobile, and on desktop when the admin menu is collapsed, the admin menu should be forced open while the tooltip is active in order to reveal the target of the tooltip
Slide Content
- Earn money from your site
Focus on writing good content and let AdSense help you make it profitable - Save time with automated ads
Auto ads automatically place and optimize your ads for you so you don’t have to spend time doing it yourself - You’re in control
Block ads you don’t like, customize where ads appear, and choose which types fit your site best
Final graphics are TBD so for now placeholder(s) should be used but it should be assumed that the graphics may be somewhat large in size so lazy loading should be used to keep the bundle size down (example).
Implementation Brief
Tooltip
The tooltip mechanism has been fleshed out in a PoC: https://github.com/google/site-kit-wp/compare/develop...poc/acknowledgement-tooltip-trh - implementing a cut-down version of what we already have in TourTooltips.
- Create a new reusable tooltip, simply called
Tooltip, that broadly follows theAcknowledgementcomponent in the PoC. This will be reused for the GA4 Activation Banner.- File:
assets/js/components/Tooltip.js - Props:
title: Tooltip title.content: Tooltip content.dismissLabel: Text for the button to dismiss the tooltip.target: Selector for the DOM element the tooltip will point to.onDismiss: Callback to be invoked on dismissing the tooltip.
- File:
Add react-swipeable dependency
In order to provide the swiping behaviour, we will make use of useSwipeable from react-swipeable. Adding react-swipeable as a dependency only adds 3739 bytes to the vendor bundle in local testing, and has been discussed with and OK’d by @aaemnnosttv .
- Add
react-swipeableas an NPM dependency.
AdSenseConnectCTA
- Prepare to refactor the component:
- Create the directory
assets/js/modules/adsense/components/common/AdSenseConnectCTAand move the existingAdSenseConnectCTA.jsinto the new folder asindex.js.
- Create the directory
- Add styling as needed to
assets/sass/components/adsense/_googlesitekit-adsense-connect-cta.scss. - Remove/move the
.googlesitekit-setup__wrapper--adsense-connectclass fromassets/sass/components/setup/_googlesitekit-setup.scss.
Within directory assets/js/modules/adsense/components/common/AdSenseConnectCTA:
-
Create a new subcomponent for the active content.
- Component name:
Content. - Props:
stage: index to specify the active stage (corresponding to 1-3 in Slide Content in the AC).
- Lazy load the graphics, using placeholder images for now. As mentioned in the AC, refer to https://github.com/google/site-kit-wp/blob/56ae1f9a52a80b3485df1e28b317cf28d9b44bde/assets/js/modules/idea-hub/components/common/IdeaHubPromptSVG.js for an example of lazy loading.
- Ensure the content is responsive as per the design making appropriate use of CSS
@mediaqueries. - Ensure the content transitions according to the AC when the
stageis changed, making use of CSStransitionrules.
- Component name:
-
Create a subcomponent for the mobile view:
- Component name:
ContentSwipeable. - Render the
Contentcomponent. - Use the
useSwipeablehook to set up left/right swipe handlers which will update theContentcomponent’sstageprop. - Either render a wrapper around the content or update the content component as necessary to allow the event handlers returned by
useSwipeableto be passed in/attached.
- Component name:
-
Create a subcomponent for the non-mobile view:
- Component name:
ContentAutoUpdate. - Render the
Contentcomponent. - Setup an interval with
setIntervalwhich updates theContentcomponent’sstageprop every 5 seconds.
- Component name:
-
Update
AdSenseConnectCTA:- Replace the existing content of the CTA. Buttons can remain the same as per the AC.
- Use
useBreakpoint()to retrieve the current breakpoint. - For the mobile breakpoint, render the
ContentSwipeablecomponent. - For non-mobile breakpoints, render the
ContentAutoUpdatecomponent.
- Use
- Remove the secondary dialog that is shown via
dialogActive: remove usage of theDialogcomponent and related code. - Add a flag as local state to control visibility of the tooltip. Enable the flag in the
handleDismissModulecallback (effectively renaming/repurposing thedialogActiveflag). - Render the
Tooltipcomponent when the flag istrue. Add anonDismisshandler to set the flag tofalse.- Show the tooltip with text as per the design.
- Point the tooltip at the Settings submenu item using the following selector for the
targetprop:#adminmenu [href*='page=googlesitekit-settings']
- When showing the tooltip, check if the Admin menu is open, and open it if not:
- Check if it’s open by checking for the truthyness of
document.querySelector('#wpwrap.wp-responsive-open'). - If it’s not open:
- Toggle it open by calling
document.getElementById('wp-admin-bar-menu-toggle').click(). This ensures the corresponding WordPress click handler is used and all necessary classes/attributes are toggled. - Toggle it closed again in the
onDismisshandler.
- Toggle it open by calling
- Check if it’s open by checking for the truthyness of
- Replace the existing content of the CTA. Buttons can remain the same as per the AC.
Test Coverage
- Add the new Tooltip component to Storybook and the VRT suite.
- Ensure the AdSenseConnectCTA story displays correctly, and add it to the VRT suite.
- Fix any failing tests.
QA Brief
- Set up Site Kit without setting up AdSense. Navigate to the Dashboard and verify the Adsense Connect CTA is displayed as per the AC.
Note: The Figma design was a bit inconsistent with some aspects of the existing Site Kit design and so it wasn’t attempted to follow it with 100% fidelity. Notably:
- Existing styles were reused for the service heading, i.e. the word “CONNECT” and the AdSense logo and service name, so these are slightly off the Figma design.
- Standard grid dimensions were used for the outer margin.
- Existing buttons were also reused - the Figma file uses a smaller font/dimensions.
- ~The font
Google Sanswas used, as elsewhere in Site Kit, rather thanGoogle Sans Displayseen here in Figma.~ Note: This point should not be relevant if testing with the GM2+ styles merged. - ~Colours used in Figma that don’t exist in Site Kit were adjusted to their nearest match. So,
#888888(seen here in Figma but not used in Site Kit) becomes#828286and likewise,#333333becomes#3c4043.~ Note: These colours will probably have changed if testing with the GM2+ styles merged. - Some other marginal tweaks as necessary to implement the responsive design.
Animation note: The animation times in the Figma mock-up are much longer than the ones we settled on in real-world usage. The animation speeds that should be observed can be seen in this PR comment: https://github.com/google/site-kit-wp/pull/5336#issuecomment-1176156505. Don’t use the Figma animation times as the yardstick for QA 🙂
Also: the images should only auto-animate/transition on non-mobile screens. On mobile viewports, the images need to be swiped to change.
Changelog entry
- Update design of the dashboard CTA for connecting AdSense.
Issue Analytics
- State:

- Created a year ago
- Comments:19
 Top Related StackOverflow Question
 Troubleshoot Live Code
 Top Related Reddit Thread
 Top Related Hackernoon Post
 Top Related Tweet
 Top Related Dev.to Post
 Top Related Hashnode Post
Thanks @tofumatt! I’ve raised a PR with the changes as discussed. Given both your and @wpdarren’s comments, and also seeing as it’s easier to keep the timing consistent across desktop & mobile, that’s what I have gone for in said PR.
If we’re considering changing the transition time again, let’s also consult @tofumatt as he raised that in the initial review.