Animation: camera setting lost while rotating multiple mesh objects
See original GitHub issueHi @marcomusy,
I am playing with the Animation class and I found that my camera setting got lost while I try to rotate multiple mesh objects.
The code I used is something like this:
#!/usr/bin/env python3

import numpy as np
from vedo import TetMesh, show, screenshot, settings, Picture, buildLUT, Box, \
    Plotter, Axes
from vedo.applications import Animation

import time as tm

# Do some settings
settings.useDepthPeeling=False  # Useful to show the axes grid
font_name = 'Theemim'
settings.defaultFont = font_name
settings.multiSamples=8
# settings.useParallelProjection = True # avoid perspective parallax

# Create a TetMesh object form the vtk file
tet = TetMesh('final_mesh.vtk')

# Clone the TetMesh object and threshold it to get the conducotrs
cond = tet.clone().threshold(name='cell_scalars', above=0, below=15)

# Clone the TetMesh object and threshold it to get southern part of BSMT1
bm1 = tet.clone().threshold(name='cell_scalars', above=22, below=22)
# The southern part of BSMT2
bm2 = tet.clone().threshold(name='cell_scalars', above=24, below=24)

# This will get rid of the background Earth unit and air unit in the model
# which leaves us with the central part of the model
tet.threshold(name='cell_scalars', above=0, below=21)

# Crop the entire mesh using a Box object (which is considered to be a mesh
# object in vedo)
# First build a Box object with its centers and dimensions
cent = [504700, 6416500, -615]
box = Box(pos=cent, size=(3000, 5000, 2430))
# So, we now cut the TetMesh object with a mesh (that Box object)
tet.cutWithMesh(box, wholeCells=True)
# We can also cut msh directly rather than cutting tet, but that gives us
# something uglier, like what you would get without click the 'crinkle clip'
# option in Paraview and much worse because it would not keep mesh cells intact
# bounds = [503500, 505000, 6414000, 6417000, -1830, 600]
# msh.crop(bounds=bounds, wholeCells=True)

# And we need to convert it to a mesh object for later plotting
msh = tet.tomesh().lineWidth(1).lineColor('w')

# Crop the conductor TetMesh object using a larger box
cent = [505500, 6416500, -615]
box_cond = Box(pos=cent, size=(3200, 5000, 2430))
cond.cutWithMesh(box_cond, wholeCells=True)
cond_msh = cond.tomesh().lineWidth(1).lineColor('w')

# Also need to crop bm1 and bm2, but with a smaller box than that used for the
# entire mesh
cent = [504500, 6416500, -615]
box = Box(pos=cent, size=(1500, 5000, 2430))
bm1.cutWithMesh(box, wholeCells=True)
bm1_msh = bm1.tomesh().lineWidth(1).lineColor('w')
bm2.cutWithMesh(box, wholeCells=True)
bm2_msh = bm2.tomesh().lineWidth(1).lineColor('w')

# We need to build a look up table for our color bar, and now it supports
# using category names as labels instead of the numerical values
# This was implemented upon my request
lut_table = [
    # Value, color, alpha, category
    (12.2, 'dodgerblue', 1, 'C1'),
    (15.2, 'skyblue', 1, 'C1-North'),
    (16.2, 'lightgray', 1, 'Overburden'),
    (18.2, 'yellow', 1, 'MFc'),
    (19.2, 'gold', 1, 'MFb'),
    (21.2, 'red', 1, 'PW'),
    (23.2, 'palegreen', 1, 'BSMT1'),
    (25.2, 'green', 1, 'BSMT2'),
]
lut = buildLUT(lut_table)

msh.cmap(lut, 'cell_scalars', on='cells')
cond_msh.cmap(lut, 'cell_scalars', on='cells')
bm1_msh.cmap(lut, 'cell_scalars', on='cells')
bm2_msh.cmap(lut, 'cell_scalars', on='cells')
bm_msh = bm1_msh + bm2_msh
# msh.cmap("coolwarm", 'cell_scalars', on='cells')
msh.addScalarBar3D(
    categories=lut_table,
    pos=(508000, 6416500, -1830),
    title='Units',
    titleSize=1.5,
    sx=100,
    sy=4000,
    titleXOffset=-2,
)

group = msh + cond_msh + bm_msh
zlabels = [(500, '500'), (0, '0'), (-500, '-500'), (-1000, '-1000'),
           (-1500, '-1500')]
axes = Axes(group,
            xtitle='Easting (m)',
            ytitle='Northing (m)',
            ztitle='Elevation (m)',
            xLabelSize=0.015,
            xTitlePosition=0.65,
            yTitlePosition=0.65,
            yTitleOffset=-1.18,
            yLabelRotation=90,
            yLabelOffset=-1.6,
            # yShiftAlongX=1,
            zTitlePosition=0.85,
            # zTitleOffset=0.04,
            zLabelRotation=90,
            zValuesAndLabels=zlabels,
            # zShiftAlongX=-1,
            axesLineWidth=3,
            yrange=msh.ybounds(),
            xTitleOffset=0.02,
            # yzShift=1,
            tipSize=0.,
            yzGrid=True,
            xyGrid=True,
            gridLineWidth=5,
            )

# Set the camera position
plt = Animation()
plt.camera.SetPosition( [512921.567, 6407793.637, 8217.335] )
plt.camera.SetFocalPoint( [505099.133, 6415752.321, -907.462] )
plt.camera.SetViewUp( [-0.494, 0.4, 0.772] )
plt.camera.SetDistance( 14415.028 )
plt.camera.SetClippingRange( [7367.387, 23203.319] )

size = [3940, 2160]

# Trying to play with the Animation class
plt.showProgressBar = True
plt.timeResolution = 0.025  # secs

# It would be okay if I only plot one mesh object
# plt.fadeIn(msh, t=0, duration=0.5)
# plt.rotate(msh, axis="y", angle=180, t=1, duration=2)

# If I try to plot multiple objects, then things quickly go wrong: the mesh objects become a small point
# in the middle of the mesh and then disappear
plt.fadeIn([cond_msh, msh, bm1_msh, bm2_msh], t=0, duration=0.5)
plt.rotate([cond_msh, msh, bm1_msh, bm2_msh], axis="z", angle=180, t=1, duration=3)
plt.totalDuration = 4 # can shrink/expand total duration

plt.play()
# plt.show(msh, cond_msh, bm_msh, axes, size=size, interactive=False, resetcam=0, zoom=1.0)
# screenshot('model_mesh_vedo.png')
Here is the data required for this script to work: final_mesh.vtk.zip
While I can try to just plot with one mesh object, it would still be interesting to make the above script work to add some more flexibility. I am not entirely sure whether I am doing something wrong or this is just the default behaviour. When you get a chance, could you please take a look at this?
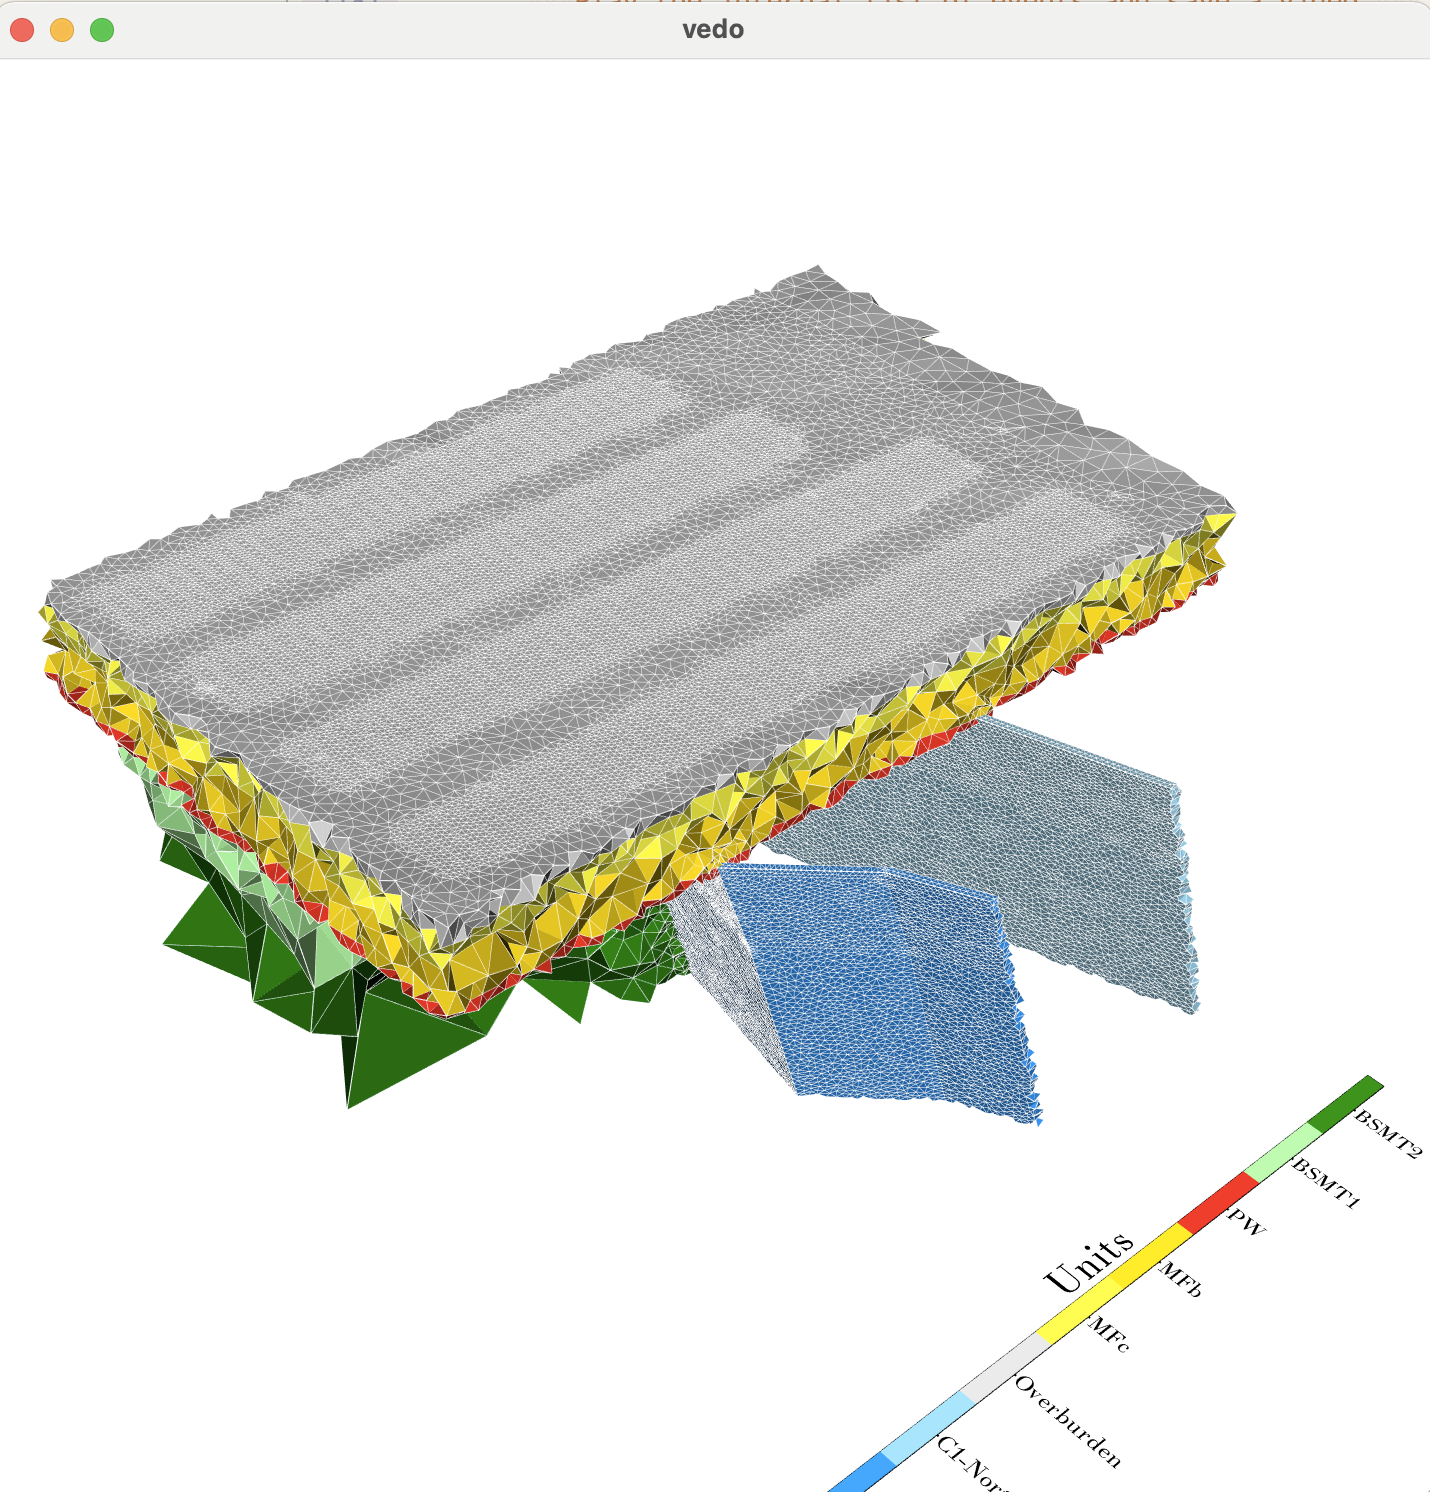
Here is what things look like before they disappear (very last frame generated in the call to faceIn function):
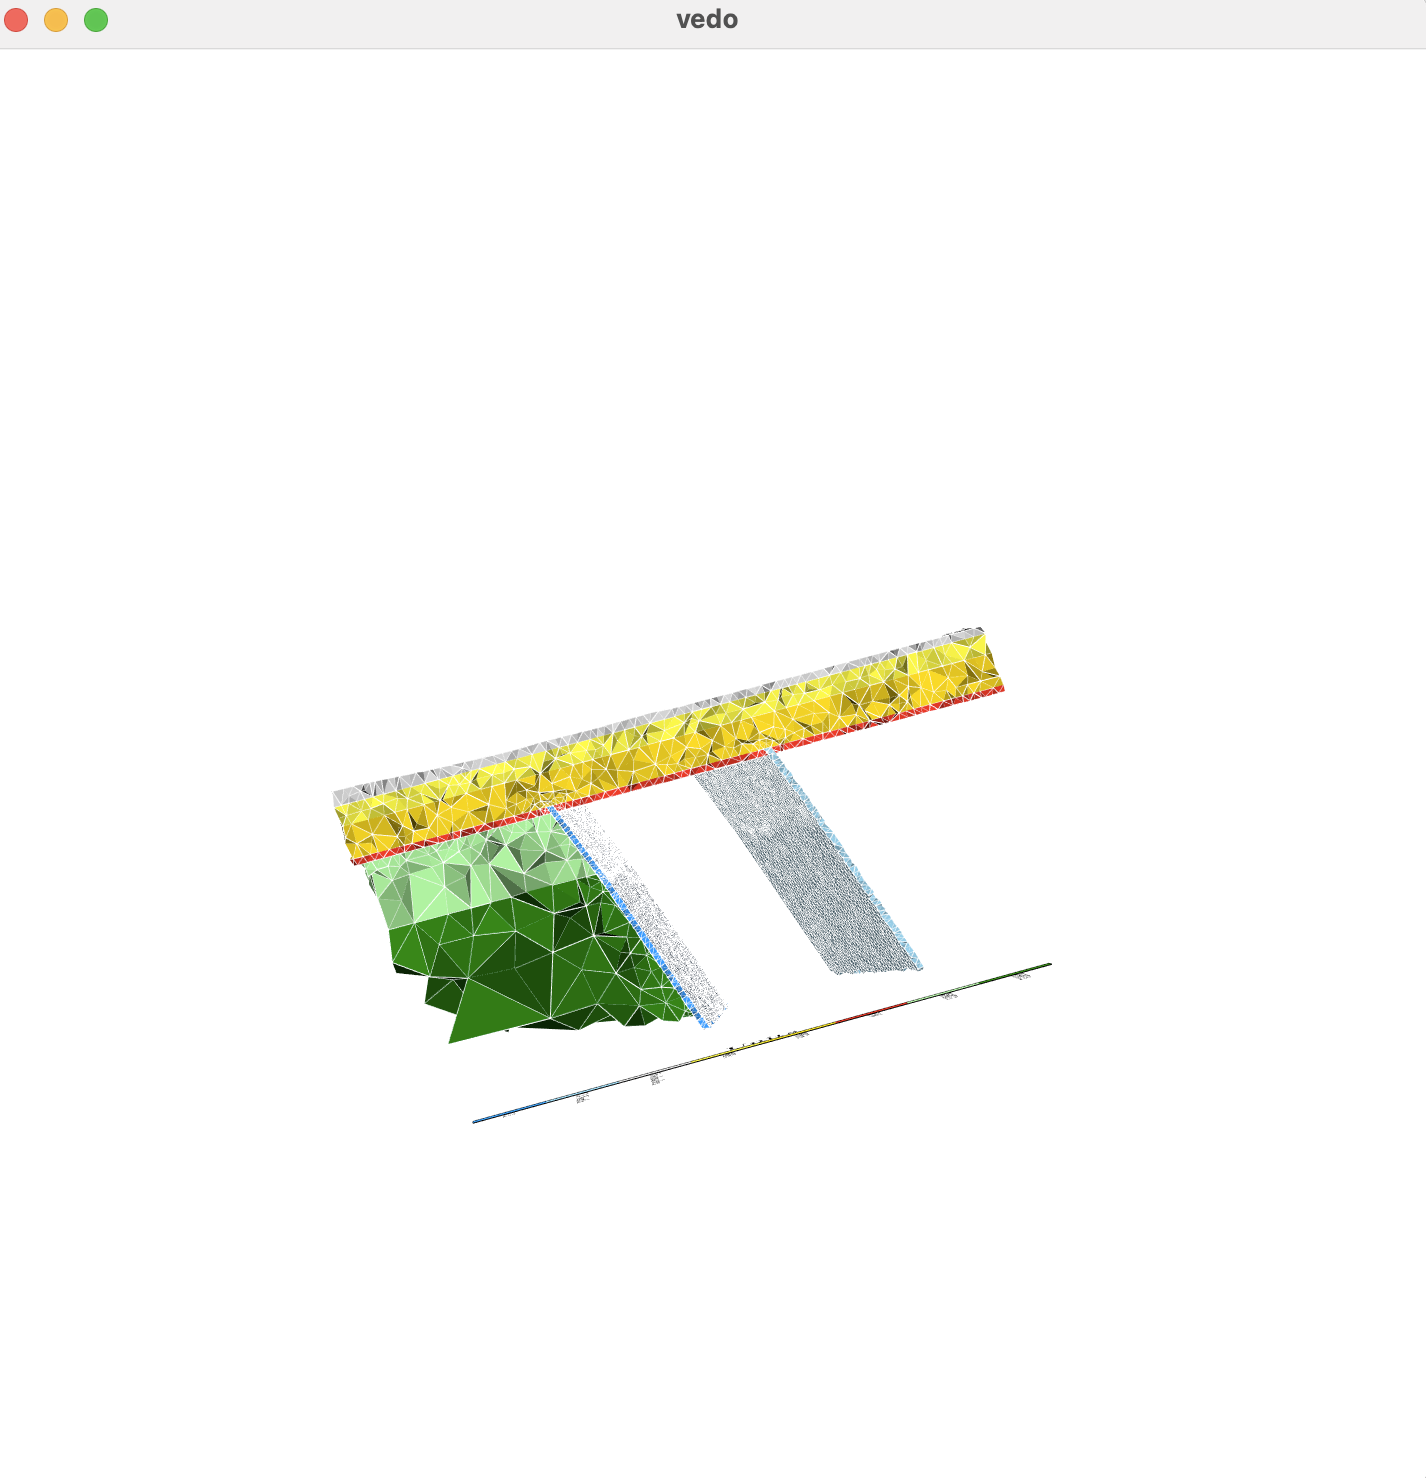
 And here is what I mean by ‘disappear’ (can still be visible at the bottom-right coner):
 You can see that they are still there if you zoom in to that area:

Well, I just discovered that it does not matter how many objects I rotate. This would happen even if I just rotate one object.
Also, there is no way for me to add Axes objects because of the following error: AttributeError: ‘Assembly’ object has no attribute ‘alpha’".
The added 3D scalar bar also disappears.
The .mp4 file cannot be viewed using QuickTime Player on Mac. I’ve tried another video player and it does not work either.
Thanks very much, Xushan
Issue Analytics
- State:
- Created 2 years ago
- Comments:20 (14 by maintainers)

 Top Related StackOverflow Question
Ok, apparently for the 1. most likely is a fault of my desktop renderer since on the final file (using the
Video()) the flashing issues doesn’t show up:For 2.
Video()works perfectly 😉.Hi
because you are not resetting camera the flashing I guess is due to the camera depth clipping… try adding
vp.camera.SetClippingRange( [dmin, dmax] )You can either
vp.screenshot(f'filename{t}.png')or use theVideo()class (which depends on your system specs so it might not work…). Check outexamples/other/makeVideo.py